更新日:、 作成日:
ワード セクション区切りを挿入する
はじめに
ワードのセクション区切りを挿入する方法を紹介します。
ページ単位やページの途中などで区切れます。
セクション単位にページ設定ができます。縦書きと横書きやヘッダーなど、一部のページだけ違うページ設定にできます。
セクション区切りを挿入する
セクション区切りを挿入する 3 つの方法を紹介します。
ページ単位にセクション区切りを挿入する
これが一般的なセクション区切りを挿入する方法です。
1 ページ目と 2 ページ目でセクションを区切るには 2 ページ目の [先頭] をクリックします。
[レイアウト] タブをクリックし、ページ設定グループにある [区切り] から [次のページから開始] をクリックします。

1 ページ目の最後にセクション区切りが挿入されます。この方法で挿入したセクション区切りには改ページの効果もあります。セクション区切りの表示方法は後で紹介します。
ページの途中にセクション区切りを挿入する
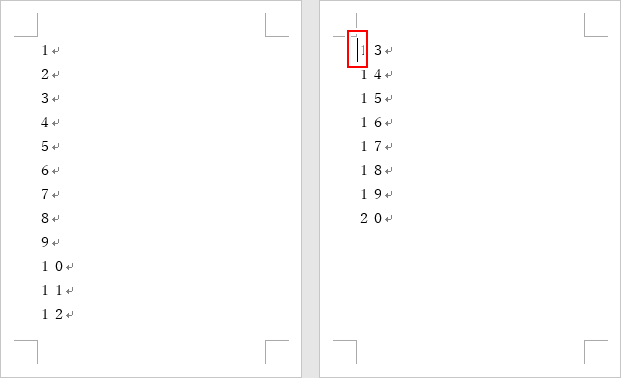
6 行目と 7 行目の間でセクションを区切るには 7 行目の [先頭] をクリックします。
[レイアウト] タブをクリックし、ページ設定グループにある [区切り] から [現在の位置から開始] をクリックします。
6 行目の最後にセクション区切りが挿入されます。
選択した範囲にセクション区切りを挿入する
セクションを分けたい [文字列] を範囲選択します。
[レイアウト] をクリックし、ページ設定グループにある [右下矢印] をクリックします。
設定対象から [選択している文字列] を選択して [OK] をクリックします。
範囲選択した文字列の前後にセクション区切りが挿入されます。この方法で挿入したセクション区切りには改ページの効果もあります。
スポンサーリンク
セクション区切りを表示する
[ホーム] タブをクリックし、段落グループにある [編集記号の表示/非表示] をチェックします。
セクション区切りなど編集記号がすべて表示されます。これらの記号は印刷されません。
または [表示] タブをクリックし、表示グループにある [下書き] をクリックします。
下書きモードではセクション区切りが表示されます。
セクション番号を確認する
セクション区切りを挿入していない状態では、すべてのページがセクション 1 です。セクションを挿入すると、セクション 2 、セクション 3 のように増えていきます。
[ヘッダー] や [フッター] の部分をダブルクリックすると、そのページのセクション番号を確認できます。
また [ステータスバー] を右クリックして [セクション] をチェックします。カーソルがある位置のセクション番号が表示されます。
セクション単位にページ設定する
1 ページ目と 2 ページ目でセクションが分かれています。ページ設定をするセクションの [ページ] をクリックします。
[レイアウト] タブからページ設定を変更すると、そのセクションにだけ反映されます。
その他に [右下矢印] をクリックします。
設定対象から [このセクション] を選択すると、現在選択しているセクションにだけ反映されます。[OK] をクリックします。
選択したセクションのページ設定が変更されます。
ヘッダーやフッターもセクション単位に設定できるので、途中からページ番号を設定することもできます。
複数のセクションのページ設定を変更する
複数のセクションのページ設定を変更するには、そのセクションの [ページ] を範囲選択します。
Ctrl キーを押しながら範囲選択すると離れたセクションを選択できます。
この状態でページ設定を変更すると、選択したセクションに反映されます。
変更した設定だけが反映されます。例えば、縦書きと横書きのセクションで余白を変更しても、縦書きと横書きの設定は維持されます。
すべてのセクションのページ設定を変更する
上記の方法ですべてのセクションのページを選択した状態で変更します。
または、ページ設定画面の設定対象から [文書全体] を選択し、ページ設定を変更して [OK] をクリックします。
変更した設定だけが反映されます。例えば、縦書きと横書きのセクションで余白を変更しても、縦書きと横書きの設定は維持されます。
スポンサーリンク