更新日:、 作成日:
ワード セクションを削除する
はじめに
ワードのセクションを削除や解除する方法を紹介します。
セクション区切りを削除すると後ろのセクションのページ設定やヘッダーなどで上書きされて、レイアウトが崩れることがあります。それを回避できます。
セクションを削除する
セクション区切りを表示する
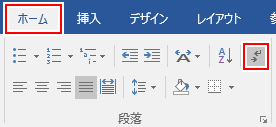
[ホーム] タブをクリックして、段落グループにある [編集記号の表示/非表示] をチェックします。
セクション区切りが表示されます。
または [表示] タブをクリックして、表示グループにある [下書き] をクリックします。

セクション区切りが表示されます。
セクション区切りを削除する
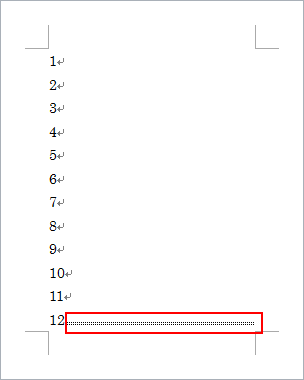
削除する [セクション区切り] をクリックします。
Delete キーを入力するとセクションを削除できます。
スポンサーリンク
削除後のページ設定を残す
セクションごとに異なるページ設定をしているページがあります。
セクション区切りを削除すると後ろのセクションのページ設定が、前のセクションのページに上書きします。
これを回避するには後ろのセクションの [ページ] をクリックします。
[ホーム] タブをクリックし、編集グループにある検索の [▼] から [ジャンプ] をクリックします。
ページ番号に \section を入力し、[ジャンプ] をクリックして [閉じる] をクリックします。
そのセクションが範囲選択されます。 Ctrl + X キーを入力して切り取ります。
[セクション区切り] をクリックし、Ctrl + V キーを入力して貼り付けます。
Ctrl キーを押しながら [セクション区切り] と残った [ページ] を範囲選択して Delete キーを入力します。
ページ設定を残したままセクション区切りを削除できます。
ヘッダーやフッターを残す
上記の方法だとヘッダーやフッターが上書きされます。ヘッダーやフッターも残す方法を紹介します。
後ろのセクションの [ヘッダー] をクリックします。
ヘッダー/フッターツールの [デザイン] タブをクリックし、[前と同じヘッダー/フッター] をチェックします。
[はい] をクリックします。
これをヘッダーとフッターの両方に設定します。前のセクションのヘッダーとフッターが後ろに反映されます。
この状態でセクション区切りを削除すると、前のセクションのヘッダーとフッターを残せます。
スポンサーリンク